Install the CLI
The Runme CLI gives you much of the functionality available with the Notebooks, but from your terminal.

Install Runme CLI on MacOS
To get started, one of the easiest ways to install Runme on MacOS is by using Homebrew.
Ensure you have the latest version of Homebrew on your local machine, update if needed:
brew update
Install Runme:
brew install runme
The output should look something like:
==> Downloading https://ghcr.io/v2/homebrew/core/runme/manifests/3.0.2
##################################################################################################################################################################################################### 100.0%
==> Fetching runme
==> Downloading https://ghcr.io/v2/homebrew/core/runme/blobs/sha256:c8fb6b6c6b3ee65fd8ee8b24fe9e85bec007afb89623f7fc40a83705d9e182de
##################################################################################################################################################################################################### 100.0%
==> Pouring runme--3.0.2.arm64_sonoma.bottle.tar.gz
==> Caveats
zsh completions have been installed to:
 /opt/homebrew/share/zsh/site-functions
==> Summary
:beer: /opt/homebrew/Cellar/runme/3.0.2: 8 files, 21.9MB
==> Running `brew cleanup runme`...
Disable this behaviour by setting HOMEBREW_NO_INSTALL_CLEANUP.
Hide these hints with HOMEBREW_NO_ENV_HINTS (see `man brew`).
Installing the Runme CLI on Windows
Windows users can also conveniently install Runme using any of the two options.
- Windows Subsystem for Linux 2 (WSL 2) or
- Scoop.sh a command-line installer for Windows
Installing Runme on Windows Using Windows Subsystem for Linux 2
Runme is currently available only on the Cloud-native Shell Kernel, which makes it more compatible with a Linux operating system than a Windows operating system. To use Runme effectively on a Windows OS, you need to install and utilize the Windows Subsystem for Linux 2 (WSL 2)
To install the Runme CLI on your WSL server, follow these steps:
Install WSL
Run the command below to install WSL on your Windows machine:
wsl --install
Connect to WSL
Next, connect your machine to WSL, run the command below:
wsl
This will connect your machine to your WSL server.
Learn more about using our Windows Prereqs docs, WSL 2 with Runme on Windows
Install Runme CLI
After successfully connecting to the WSL server, you should install Runme CLI on your remote server.
Homebrew is one of the easiest ways to install Runme CLI. However, you must ensure you have the latest Brew version. Once that is done we can proceed to install the Runme CLI with Brew.
brew install runme
While Homebrew provides an easy way to install Runme using the brew command, you can also conveniently install Runme using other platforms, such as curl and wget, regardless of your operating system. See the Installing Runme Binary section.
Installing Runme on Windows Using Scoop.sh
Run the commands below on your terminal to install Runme with Scoop:
scoop bucket add stateful https://github.com/stateful/scoop-bucket.git
scoop install stateful/runme
Installing from Runme Binaries
Alternatively, you can explore Runme's releases and choose the binary that corresponds to your operating system.
Example:
You can use curl or wget to install the runme binary
wget https://download.stateful.com/runme/3.1.0-rc.0/runme_darwin_x86_64.tar.gz
Move the runme binary to /usr/local/bin (recommended) or /bin (as per your request)
sudo mv runme /usr/local/bin/ # or /bin/runme if you went that route
Verify the binary is in the path and executable.
which runme
This command should output the path to the binary, confirming it's in your system's PATH. To ensure it's executable, you can explicitly set executable permissions:
sudo chmod +x /usr/local/bin/runme # or /bin/runme if you went that route
Run the binary by simply typing runme
runme
If you have a different preferred distribution mechanism, feel free to inform us on Discord. We will be glad to explore it.
Install Runme using Go
Additionally, we have provided an option for Go developers to install Runme. If you are a Go developer or you have Go developer tools installed, you can install Runme directly using the go install command.
Simply use the command below to carry out this installation:
go install github.com/stateful/runme@latest
Warning!
The displayed version may appear as “0.0.0”. This is an expected behavior and does not affect functionality
If you don't have Go developer tools installed and still want to use this method, download and install Go.
Basic Usage with Runme TUI
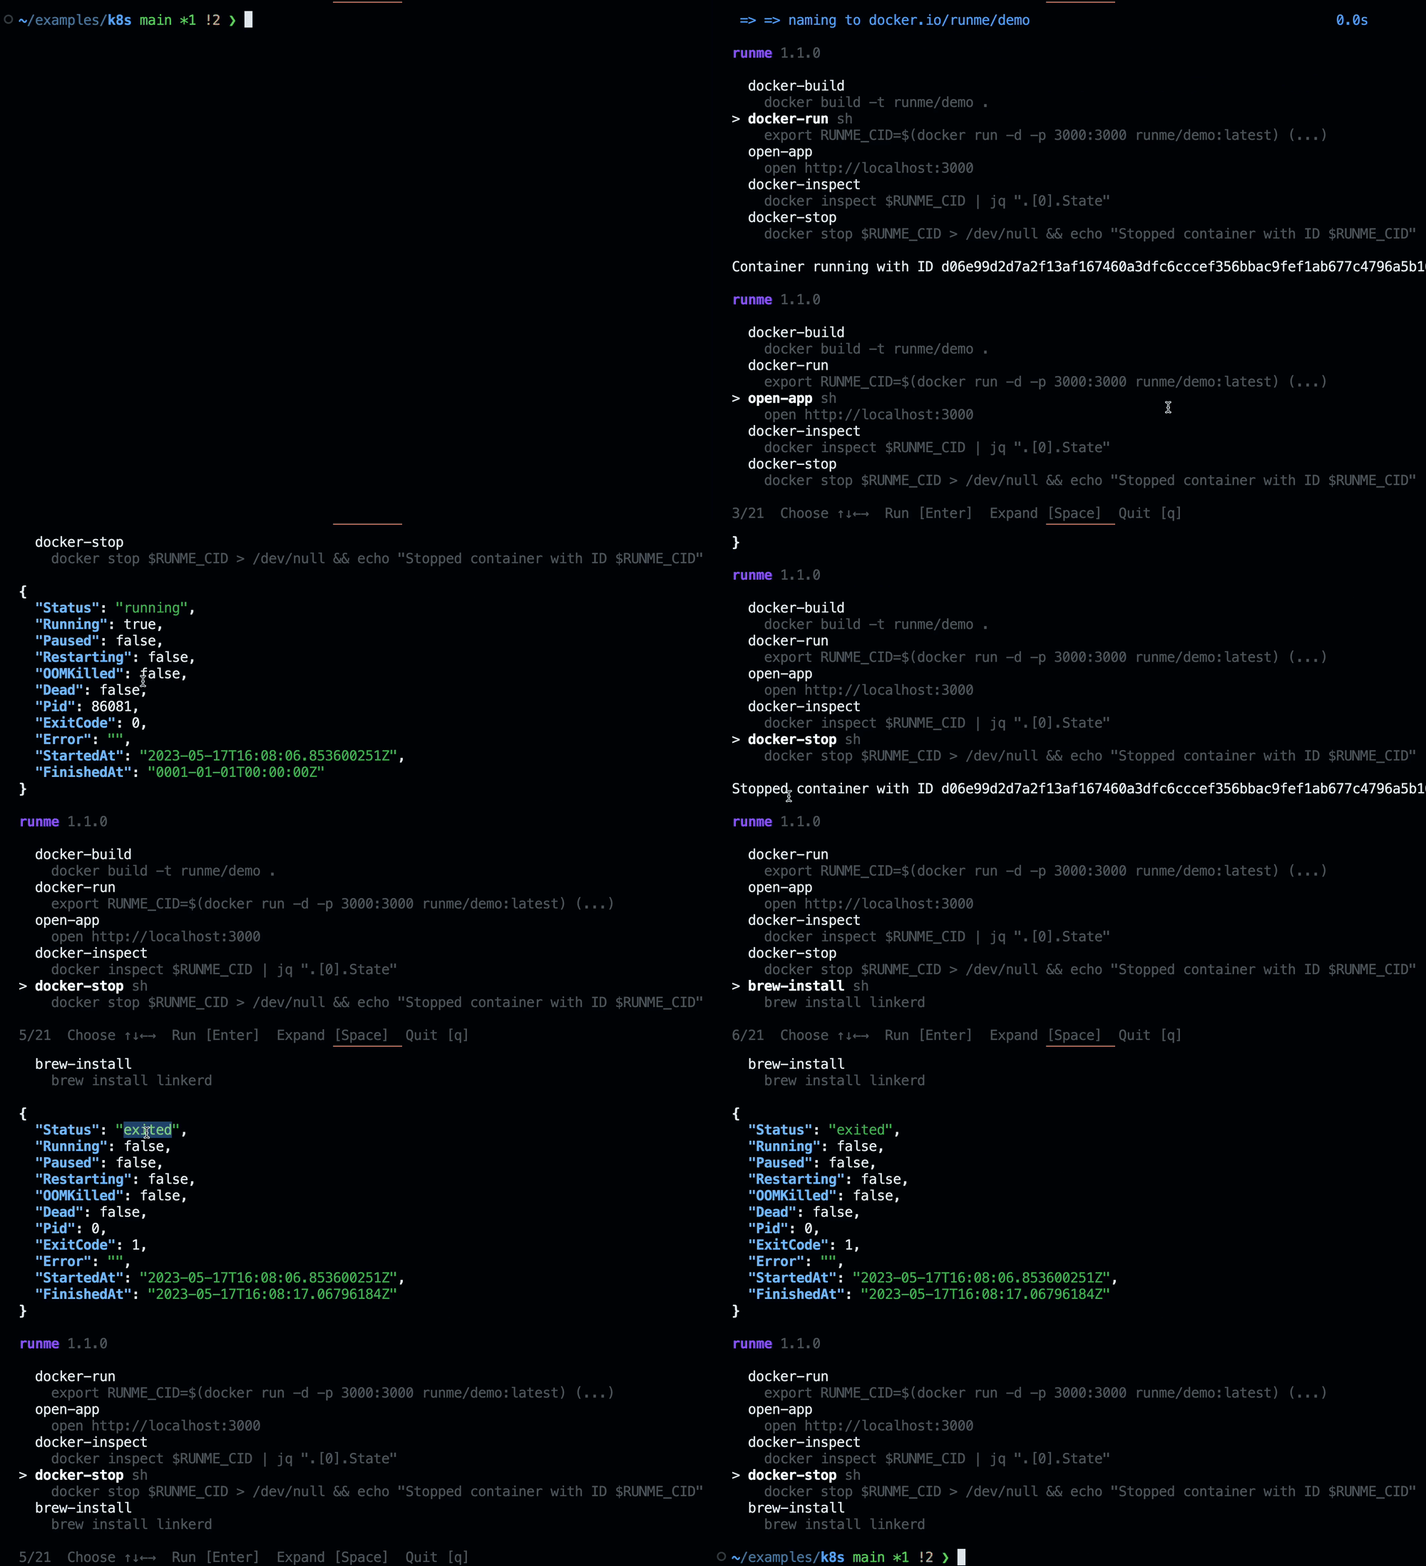
Runme provides a user-friendly text-based user interface (TUI) that allows users to interact with Runme through typed commands and responses displayed on their screen.
This TUI can be accessed using the command runme tui or just runme . These commands essentially allow you to quickly execute any script present in the README.
The video below displays Runme’s TUI and how to access its features using the command.

Warning!
Runme would not work if your current working directory does not contain a README file at the top level! You can use the --chdir flag to alter the working directory or --filename to specify any other Markdown file, without changing the environment's working directory.
Runme parses every shell or bash code block of a Markdown file and allows you to execute it within your terminal environment. It comes with several commands that help you to run code blocks in your Markdown successfully:
Runme executes commands inside your runbooks, docs, and READMEs. Parses commands
directly from Markdown files to make them executable.

Usage:
  runme [flags]
  runme [command]

Available Commands:
  completion  Generate the autocompletion script for the specified shell
  extension   Check your Runme VS Code extension status
  fmt         Format a Markdown file into canonical format
  help        Help about any command
  list        List available commands
  open        Launch Runme in a headless web client
  print       Print a selected snippet
  run         Run a selected command
  tui         Run the interactive TUI

Flags:
      --allow-unknown                Display snippets without known executor (default true)
      --allow-unnamed                Allow scripts without explicit names
      --background                   Enable running background blocks as background processes
      --chdir string                 Switch to a different working directory before executing the command (default "/Users/macbookpro")
      --entries int                  Number of entries to show in TUI (default 5)
      --env-order stringArray        List of environment files to load in order. (default [.env.local,.env])
      --exit                         Exit TUI after running a command
      --filename string              Name of the README file (default "README.md")
      --filter string                Regular expression to filter results, by filename and task name
      --git-ignore                   Whether to respect .gitignore file(s) in project (default true)
  -h, --help                         Help for runme
      --ignore-pattern stringArray   Patterns to ignore in project mode (default [node_modules,.venv])
      --insecure                     Run command in insecure-mode
      --load-env                     Load env files from local project. Control which files to load with --env-order (default true)
      --log                          Enable logging
      --log-file string              Log file path (default "/var/tmp/runme.log")
      --project string               Root project to find runnable tasks
  -s, --server string                Server address to connect runner to
      --tls string                   Directory for TLS authentication (default "/Users/macbookpro/Library/Application Support/runme/tls")
  -v, --version                      Version of runme

Use "runme [command] --help" for more information about a command.

Feedback:
  For issues and questions join the Runme community at https://discord.gg/runme
Runme’s TUI is awesome however, if you want to run a specific command quickly, simply run a specific script by name using the runme run <command> subcommand.
Next Steps
You have successfully installed Runme on your CLI. Now, it’s time to explore just how Runme works on CLI and how you can leverage it for your Markdown files right in your MacOS or Windows terminal
- For more info check out the Runme on Windows guide
- Read the CLI Getting Started to learn about all it's features